
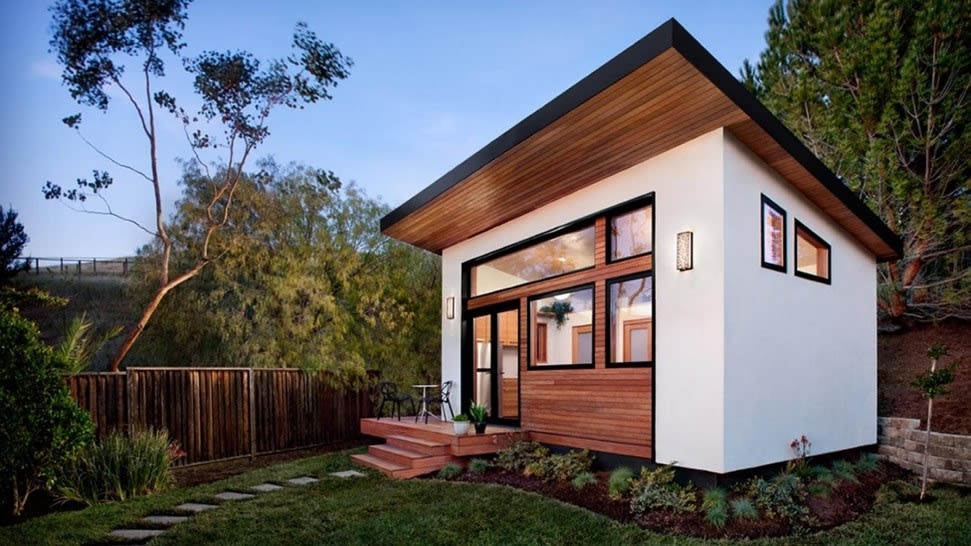
n accessory dwelling unit (ADU) can create flexible living space and potentially strengthen the appeal of a San Francisco Bay Area property. The right path starts with local verification, a clear purpose, and a realistic team-led plan. Rules, costs, and timelines vary by city and site, so treat this as a practical starting point—not a substitute for professional advice.
Whether you are considering space for family, a home office, or future rental flexibility, an ADU can be a meaningful property decision. In the San Francisco Bay Area, however, lot conditions and local requirements can differ substantially from one jurisdiction to the next. Use these five steps to organize the conversation before committing to a design or budget.
1. Confirm local zoning and property eligibility
Begin with the city or county that has authority over your address. Ask how your parcel is zoned, whether it is served by a homeowners association, and whether there are site-specific factors such as hillside conditions, historic review, easements, utility constraints, fire access, or protected trees. State ADU laws may shape what local governments can require, but they do not remove the need to follow the rules that apply to your particular property.
It is also wise to confirm whether you are evaluating a detached unit, an attached addition, or a conversion of existing space. A garage conversion, basement conversion, or backyard cottage can each involve different practical considerations. Obtain current information directly from the local planning and building departments, and consult licensed professionals when needed.
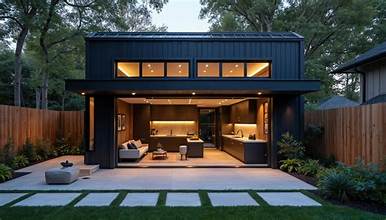
2. Define the ADU type and your project goals
Before drawings begin, decide what the ADU needs to accomplish. Some homeowners prioritize a comfortable suite for relatives; others want a compact, independent space that may broaden future buyer interest. Your intended use affects the preferred size, privacy, access, storage, outdoor space, accessibility features, kitchen layout, and relationship to the main home.
Write a simple project brief. Include who may use the space, how long you expect to own the property, the features that matter most, and the compromises you can accept. A clear brief helps prevent expensive changes later and gives your designer and contractor a more useful starting point. Consider how the ADU will feel from both the main residence and neighboring properties, especially on close-in Bay Area lots.
The most successful ADU plans balance daily usefulness with the character of the property. More square footage is not always the best outcome if it compromises light, privacy, circulation, or outdoor living.
3. Assemble a qualified project team
An ADU is rarely a one-person project. Depending on scope, your team may include an architect or residential designer, surveyor, civil or structural engineer, energy consultant, geotechnical professional, general contractor, and specialty trades. Look for licensed, insured professionals with relevant experience in the jurisdiction where you plan to build.
Ask prospective team members how they approach site evaluation, permit coordination, cost estimating, and change orders. Request references, confirm license status independently, and compare scopes of work—not simply bottom-line bids. A low proposal can leave out services or conditions that appear later as additional costs
For homeowners, communication is as valuable as technical skill. Establish who will be your main point of contact, how decisions will be documented, and when you will receive updates. A well-defined team can help you identify questions early, though no professional can promise a particular permit result, construction price, or completion date.
4. Plan permits, budget, and timelines carefully
Build a budget that goes beyond the visible structure. Design and engineering, surveys, permit fees, utility work, site preparation, financing costs, appliances, landscaping, and contingency funds can all affect the final investment. Older homes and constrained sites may reveal conditions after planning or construction begins, so leave room for the unexpected.
Map the project in phases: feasibility, design, permit review, contractor selection, construction, inspections, and final completion. Permit review periods and construction schedules can change because of agency workload, revisions, weather, material availability, utility coordination, or site discoveries. Ask your team for a timeline range and the assumptions behind it rather than relying on a single promised date.
Treat the budget as a decision tool, not just a spending limit. Comparing a few design approaches early may reveal where a smaller footprint, simpler roofline, or utility strategy better supports your goals.
5. Prepare for construction and long-term value
Before work starts, make a plan for access, dust, noise, parking, deliveries, pets, and any temporary disruption to your routine. Review the contract, payment schedule, insurance responsibilities, change-order process, and warranty information carefully. Keep approvals, plans, invoices, inspection records, and product information organized; those records can be valuable when you maintain, insure, refinance, or sell the home.
An ADU may add flexibility and may influence how future buyers view a property, but value is not automatic or guaranteed. Location, design quality, permitted status, lot usability, market conditions, and buyer preferences all matter. Before making a major investment, consider how the finished space fits your neighborhood and your longer-term ownership strategy.
Thinking through an ADU can be as much a real estate decision as a construction decision. Contact Kathy Chan at Parc Bay Real Estate for local real estate guidance on how an ADU plan may fit your property goals and the San Francisco Bay Area market.